Tutorials
This page contains the full tutorials with images for installing the Bamboo Dock and Minis. There is also a section that will remain updated with common troubleshooting questions and awnsers, as well as known issues with the Dock and the Minis. These tutorials are designed to work regardless of where you download the Dock and Minis from. If you already have the Dock installed, skip to "Installing Minis".
Installing Bamboo Dock
Download Bamboo Dock from one of these three resources:
https://bamboo-dock-and-Minis.neocities.org/software
https://bamboo-dock.software.informer.com/
Neocities has the file which contains the Dock and all Minis in one zip file, easily openable on any computer without addtional software.
Software Informer is ONLY the default Dock and Minis. The additional Minis are not in this download.
The Google Drive hosts the additional Mini files as .rar instead of a zipped folder. Extracting a .rar file requires a program like 7zip, but the steps to install are the same. Accessing the Google Drive may require a wait for Silvia to grant access.
If you are using Windows 10 or later, you need manually set your computer’s date to 2015 or earlier to install.
To do this, go to:Settings —> Time and Language
Turn off the option to “Set time automatically”
Click the [Change] button under “Set the time and date manually”
Adjust the year and click [change] to save.
When you are done installing the dock, you may turn back on the option for “Set time automatically” without losing access to using the Dock.
Open and run the dock_setup application.
Follow the install wizard. This will add the base Bamboo Dock application to your computer, along with the default Minis.
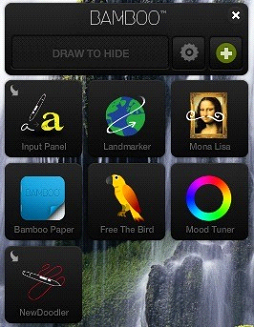
The default Minis are: Input Panel, Landmarker, Mona Lisa, Bamboo Paper, Free The Bird, and Mood Tuner.
Mood Tuner may not work without installing it again by following the tutorial to install Minis.
Intalling Minis to Bamboo Dock
This tutorial was orginally written by Silvia. I have made updates where needed for new information or clarity.
Make sure you have the Dock installed before trying to add Minis.
Step 1: Install Bamboo Dock using the above tutorial and links.
This is our starting point:
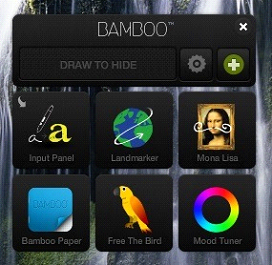
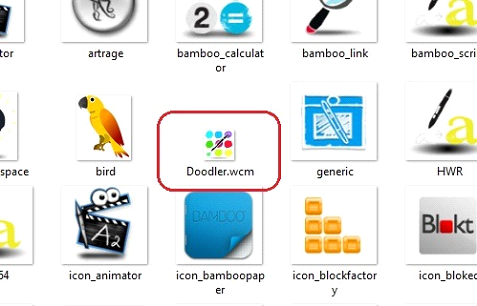
For this tutorial, we will be using the Doodler Mini.
Step 2. You need to download the Mini you want installed.
If you downloaded the Neocities file, all additional Minis are included in the zipped file. If you are using the Google Drive, each Mini is an individual .rar file that you will need to download and extract using a software like 7zip.
Step 3. Select a folder where you want to keep your Mini. Extract/move the files there.
It is entirely up to you where you want to keep your Minis when you first download them. Their location will not affect the success of the installation process.
The Neocities download bundles the needed files for each Mini into a folder with the name of the Mini on it, so you can just leave them in there if you have already unzipped the main file.
Extracting files from the Google Drive .rar file will have two files (or more) per .rar. It is suggested to make a folder to store these.
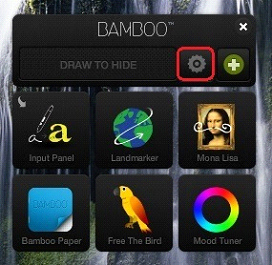
Step 4. Open Bamboo Dock and click the Bamboo settings button - it’s the little gear icon right next to the “draw to hide” field.
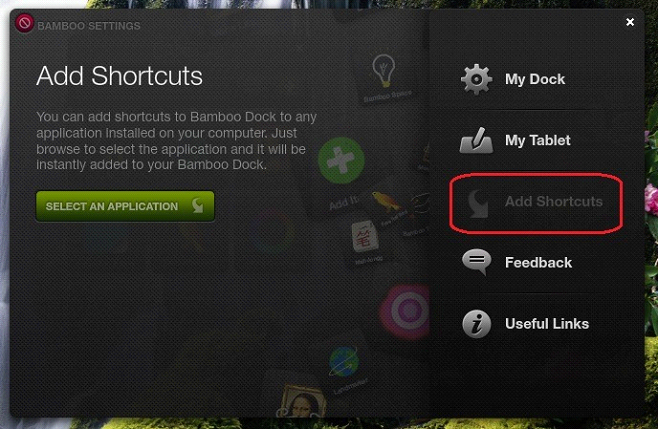
Once you have settings open, select Add Shortcuts on the right side panel and then click the green button named “Select an application”.
Step 5. Navigate to the Mini you want installed.
Select the .wcm file of the Mini and click “Open”. Close the Bamboo settings panel.
Now you have your Mini added to your Bamboo dock:
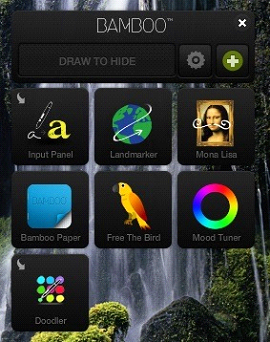
The icon that shows is the default Wacom icon. The correct icon for Doodler is this:

To make a Mini show the correct icon, continue to the next step.
Step 6. Open C:\ProgramData\Wacom\default\icons
The Program Data folder is located in the drive where your Windows OS is installed, which is most often C:. This folder is sometimes a hidden one, meaning you might not be able to see it. If that’s the case, open Folder Options, select the View tab at the top of the window and change the hidden files and folders setting so that it shows hidden files and folders. Save the changes and you’ll be able to see the ProgramData folder.
Inside the icons folder you’ll see a bunch of .png files among which one is named doodler.wcm. There are sometimes two .png files for a Mini: you want the one that has .wcm in the name. This is the file you will be deleting and replacing.
Step 7. Exit Bamboo Dock.
Make sure you didn’t just Minimize it into the hidden icons area of the taskbar. Exit the program fully or this will not work.
Step 8. Remember that .png file of the icon mentioned in Step 2? It’s time to use it.
Delete the doodler.wcm.png file from the icons folder (C:\ProgramData\Wacom\default\icons).
Move the NEW doodler.wcm.png file you downloaded from where you downloaded it into the icons folder.
Step. 9. Close the window and re-open Bamboo Dock. Voila!
A few notes:
The .wcm files which are the Minis don’t need to be added to Bamboo Dock in order to work. You can have them on your desktop or stick them to your taskbar, or do whatever suits you. All they need in order to function properly is a working installation of Bamboo Dock on your computer. Basically, the only compulsory steps in order to use the Minis are 1-3.
The process of adding a shortcut to your Bamboo Dock (steps 4 and 5) can be applied to any other program or application you use and want linked to the dock.
Completing steps 6-9 is only for cosmetic purposes. This way you’ll get as close as possible to the look and feel of the Bamboo Dock which you are used to.
Moving installation from one computer to another
Download Bamboo Dock from one of the three resources above for the install file for Dock and install the dock on your new computer.
On your old computer, go the the Wacom folder in the same way as Step 6 for installing Minis. Copy the "widgets" folder and the "icons" folder onto something like a USB drive to move them to your new computer.
On your new computer, move the "widgets" and "icons" folders to the Wacom folder (step 6 for installing Minis), replacing the "widgets" and "icons" folders that are there from installing the Dock. Make sure the Dock is completely closed when doing this.
Troubleshooting and Known Issues
If you see this even after setting your computer’s date to 2015:
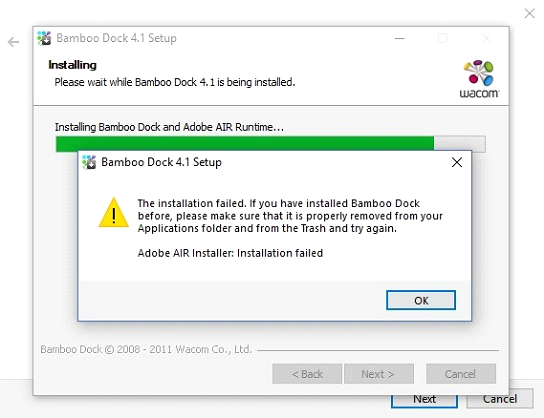
Close the installer. You will need to adjust the date to 2010 instead, and then you may launch the installer again.
Dock refuses to install:
If the Dock refuses to install, close the installer and please check that you do not have it already listed under your programs. If you do, uninstall that listing first before running the installer again. The installer will not work if there is a copy of the Dock installed to your computer already.
Please also check to make sure that the copy you already have is not one that contains non-default Minis not available on this site by looking at the files and running it. If it does, you should not uninstall it, but should proceed to step 2 instead. If you are able, please email me those missing Minis at magsciar@gmail.com.
Mini does not work/some functions of the Mini are broken
The links and connections within the Minis are often broken or do not open anymore because there is no support on Wacom’s end. There is no guarantee that the Dock itself or any of its Mini apps will continue work - now or at any given point in the future.
The following are the current known issues or particulars for all Minis. If a solution is known, it is listed.
Use the capture software to capture your computer audio using this tutorial: https://manual.audacityteam.org/man/tutorial_recording_computer_playback_on_windows.html for highest quality. This allows you to capture the loop you have created for as long as you like and save it in multiple formats.